This post may contain affiliate links. Please see our privacy policy for more details.
Learning how to adjust sourdough in cool weather is a great tool in any bakers home. With a few easy tricks, it can be simple to manipulate your dough in order to have a delicious sourdough baked good without watching the clock. Winter can be hard enough – but baking sourdough in winter does not have to be!
Cold temperatures can present a challenge to bakers. Especially if you are ‘short on time’ and a loaf of bread is taking way longer to ferment than expected.
Even for us experienced sourdough bakers, sourdough and cold weather can present a challenge. It can turn what should be an easy loaf of bread into an under-proofed, dense mess.
As we all seem to move a little slower as the days get shorter, and the weather gets colder, so does our sourdough. The yeast takes a little nap and might just not be as energized as it is during warmer temperatures.
We spent a lot of time learning how to adjust our sourdough recipes in warm weather this summer. I learn during both times of year but find there is more schedule flexibility during cooler temperatures.
I like that I can walk away from my loaf, spend an extra hour cuddling with my littles reading books or getting lost in my bible reading (where I am currently loving the ‘Gospels’!) and come back to my kitchen with our having overproofed sourdough goodies will not be over proofed.
Because let’s be honest, nothing is worse than a dense, raw loaf of sourdough bread. Especially when you wanted a fresh loaf of bread to enjoy with soup.
Learn from my experiences to add tricks into your sourdough toolbox to navigate baking sourdough in cool temperatures.
Together we will learn how to make the perfect loaf of sourdough bread every time.

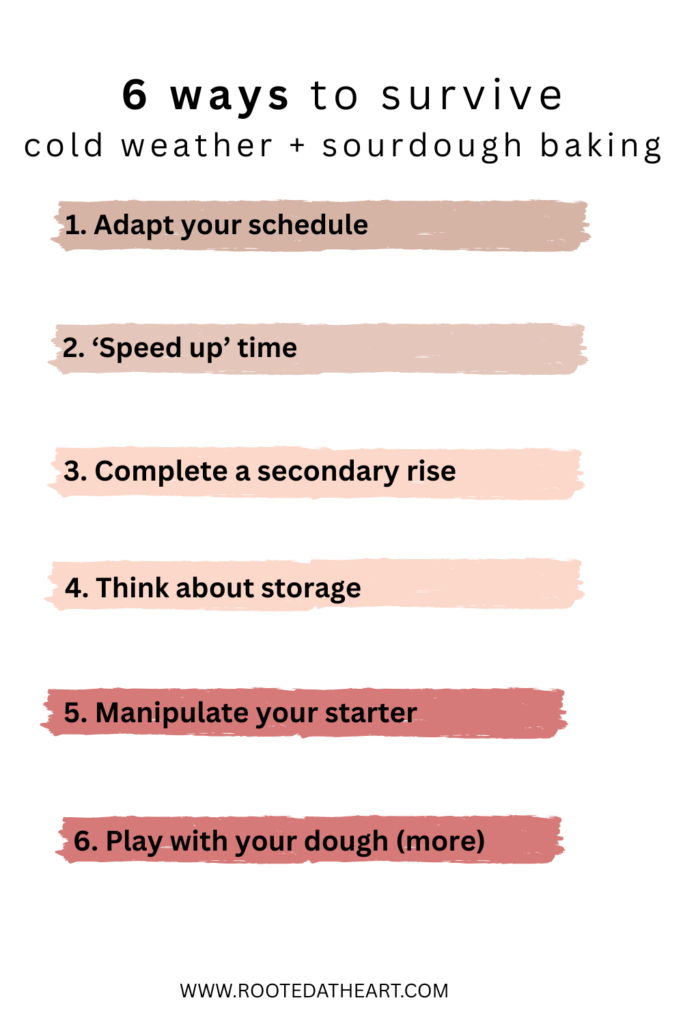
Adapt your schedule
Consider altering your schedule to allow for more time. I always have to consider increasing the amount of time it takes for items to rise – simply because homes can be cooler in the winter. And how humidity levels decrease.
My most recent loaf of jalapeno cheddar sourdough bread took four hours longer than normal to complete a countertop fermentation – simply because our house was cooler this fall than during the summer.
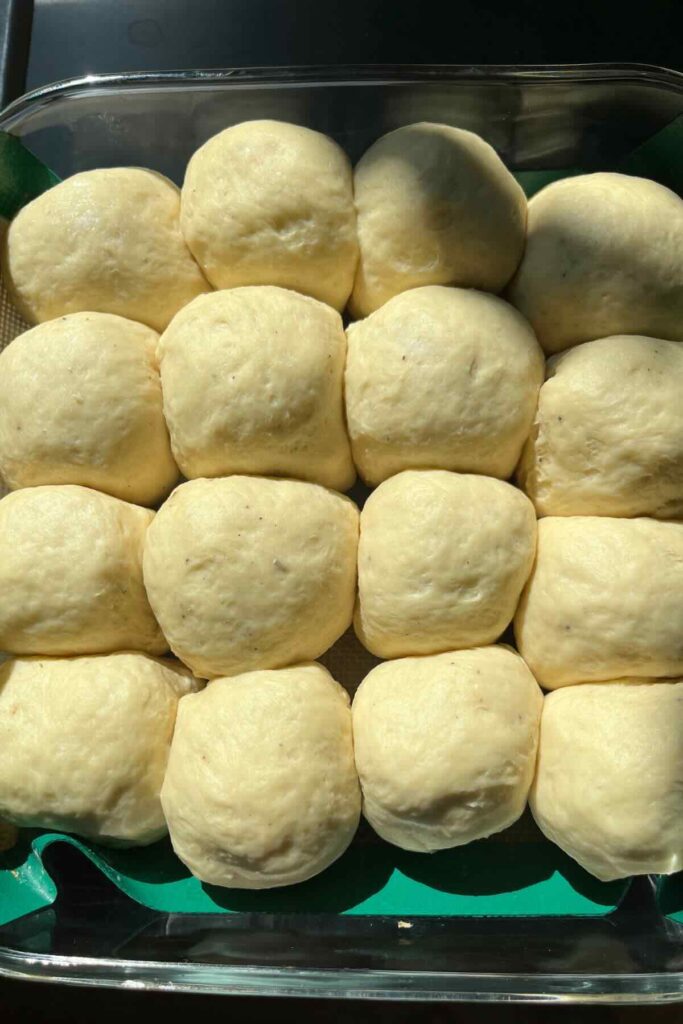
By increasing the amount of time an item sits during bulk fermentation, you can allow for a long enough period for the dough to ferment. Which is exactly what we want in our sourdough cinnamon rolls and sourdough Hawaiian rolls. Longer rise time = softer and fluffier rolls.
Beware – if you have more fresh milled grains in the loaf, or if you have more whole grain wheat, rye or even something with ‘bran’, your dough may become more sour as it sits. And if a more sour – sourdough is your objective, I have you covered! Fresh grained mills can make your dough more sour though, you have been warned. 🙂

‘Speed Up’ time
Consider items which can speed up time – like heat. There are a variety of ‘safe’ methods to use to keep your sourdough starter and sourdough baked goods warm while completing the fermentation period.
Our favorite methods to speed up time include:
- Open the oven to warm up your kitchen after making another meal
- Put your dough on (or near) the stovetop while making another meal.
- Wrap your dough / bowl in a towel
- Use the sunlight. Place your bowl in the sun when able.
- Place your dough next to the heater.
- I love wrapping my dough bowl and tucking it next to the air vent. It just seems to keep it a little warmer, encouraging it to pick up the fermentation pace.
- Turn the light on in the oven
- We used this trick when learning how to make a sourdough starter in winter! It is easier than you think.
- Make sure to put a sticky note on your oven if you do not want someone else to accidentally turn it on without checking to see what is inside.
- Use warm water to feed your starter
- Be sure not to add hot water though, as it can disrupt the wild yeast
- Skip the bulk fermentation period in the fridge. This method has been working a bit for us, turning many baked goods into ‘same day – IE under 12-18 hours’, by mixing a dough before bed and baking the item around lunch.
Complete a Secondary Rise
If your dough allows it – consider a secondary rise (when able). Though sourdough bread does not typically have a second rise time, I do find that items like sourdough English muffin bread and sourdough dinner rolls have better flavor and texture when they have a secondary rise.
Do not be afraid to adjust your sourdough in cool weather and play around with a secondary rise. It might provide a better, fluffier dough! In cooler weather, a secondary rise can take longer than during the spring or summer. Sourdough schedules can vary greatly – refer back to tip #1.
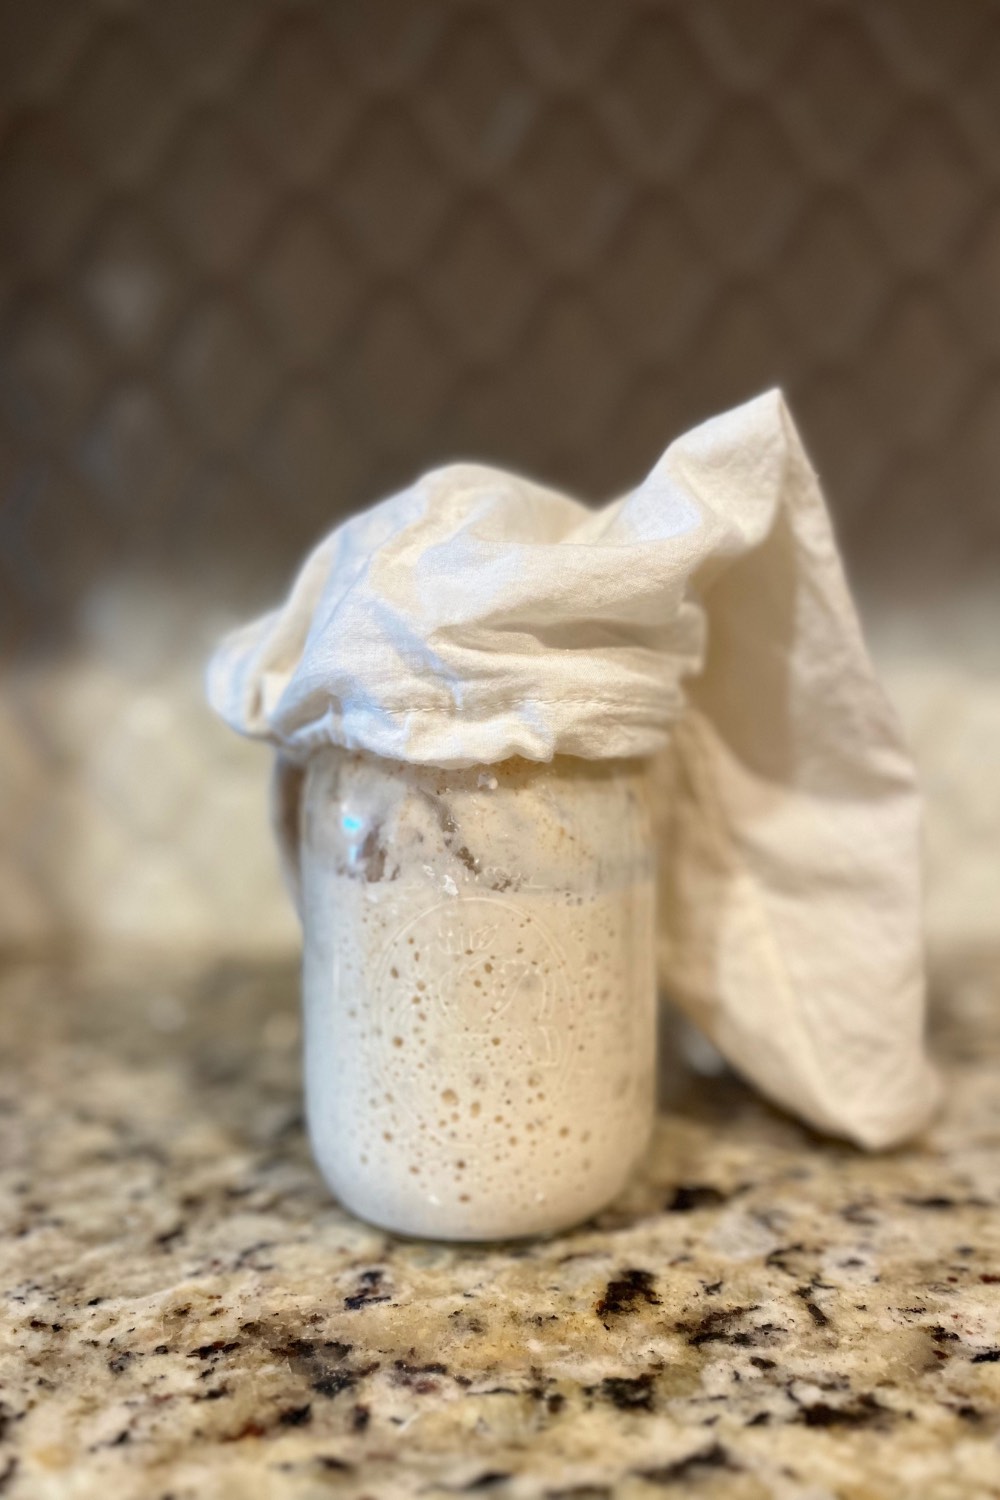
Consider where you store your starter
If you are storing your sourdough starter in the fridge, consider storing it on the counter. Or if storing your sourdough starter on the counter is not an option, pull your starter out of the fridge earlier before adding it to a recipe.
By adding a ‘warm’ or ‘room temperature’ sourdough starter to your recipe, the dough will not take as long to ferment as one which is pulled directly from the fridge.
And if you do store your sourdough starter on the counter, giving it regular feedings or by dry feeding it, this may reduce the amount of time a recipe takes to start to see fermentation occur (IE growing in size, producing bubbles, smelling sweet and yeasty).
Manipulate your starter
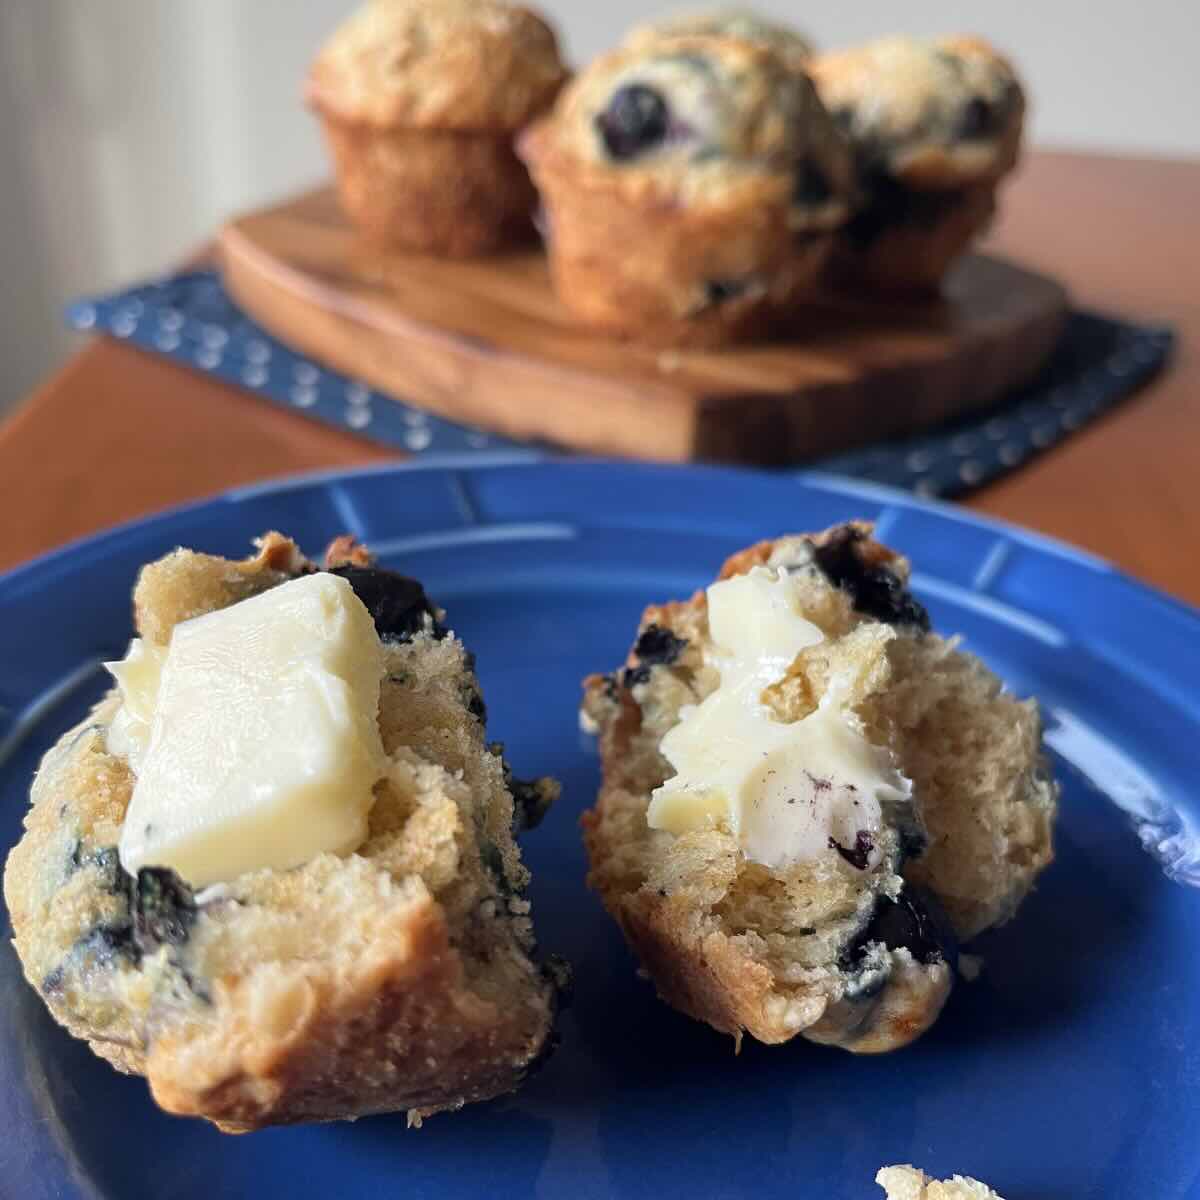
You can always increase the amount of starter you use within a recipe. There is the potential for this to throw off other levels within your baked good, however. Take this with caution as your sourdough blueberry muffins could become sourdough blueberry muffin tops- (ha-ha)!
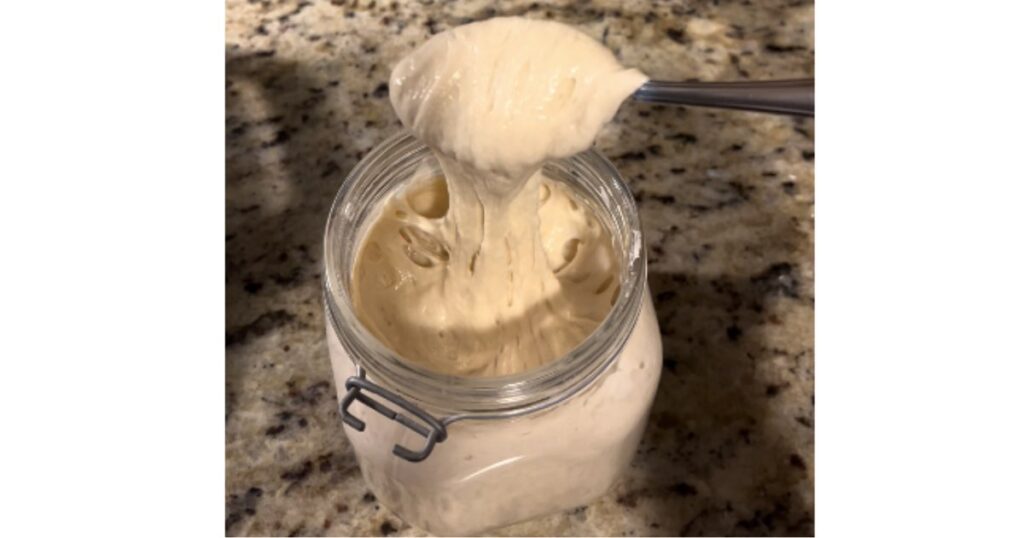
Strengthen your starter by increasing the amount of feedings or (our personal favorite), make a stiff starter. Out of the 14 different types of sourdough starter, we prefer the stiff starter. This is essentially completed by dry feeding the sourdough starter with high ratios of flour to water.
Play with your dough
There are a few different ways to adjust your sourdough in cool weather by playing with your dough: use a thermometer to temp check your dough, mark your container, and set a timer.
By using a thermometer, you can temp check your dough when you add in the starter and compare it to when it has fermented. This sourdough temperature timeline can give you an approximate outline of how long it will take for your dough to be fermented, in addition to visual cues.
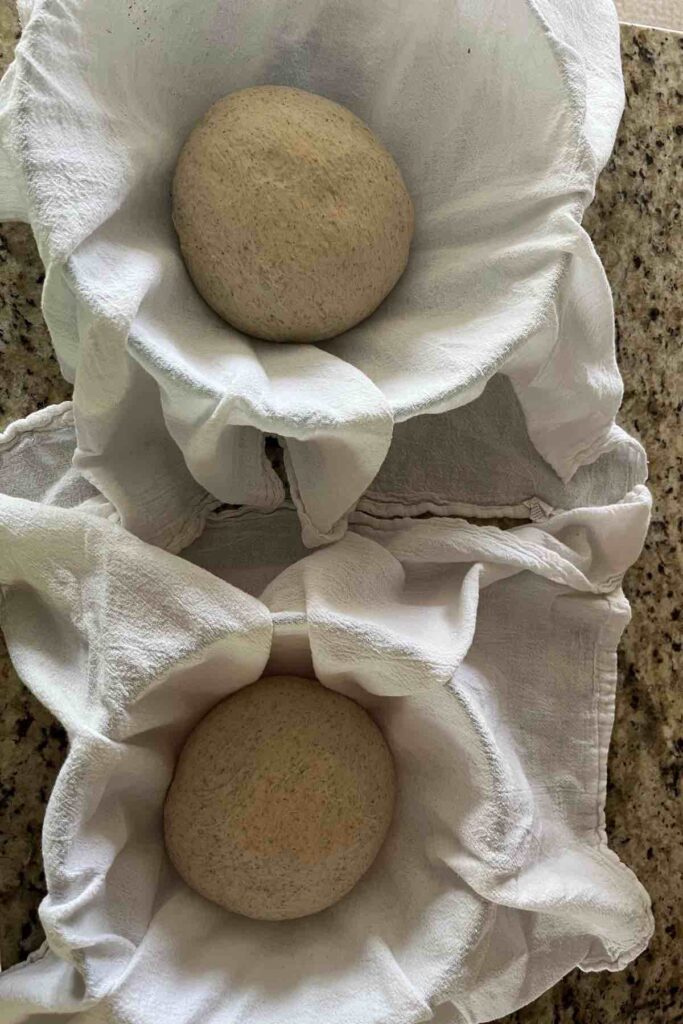
Be sure to continue watching for visual cues of bulk fermentation including bubbles on the surface of the dough, jiggly dough, the texture / tackiness of a dough and if the dough is pulling away from the sides of the bowl.
Of course you can always mark your container. Just like you may when trying to determine whether your sourdough starter is ready to use our not, you can mark the side of your container to show the height your dough should be to be ‘doubled’ in size.
You can also set a timer to remind you can remember how long it has been since you mixed together your dough. This can help you to remember how long something should ferment before it is ‘properly proofed’. I find even 30 minutes can make a difference with over proofed vs under proofed sourdough bread.
How do you adjust sourdough in cool weather? Let us know in the comments below!