This post may contain affiliate links. Please see our privacy policy for more details.
Warm weather and sourdough sometimes do not mix. With the time, money and energy it takes to make food from scratch, here are some tips on achieving the perfect loaf when the weather is warm.
Warmer temperatures often present a challenge to bakers, especially if they are within their first year or two of making sourdough recipes. Even for us experienced sourdough bakers, weather can present a challenge and turn what should be an easy loaf of bread into an over proofed, sticky mess.
This season brought on warm, humid weather which truly pushed me as a baker. I went from knowing what ‘worked’ with my favorite recipes to questioning why I even bake in the first place if it’s warm out. It does not help it is hard to turn on the oven when the house already feels warm at 7AM.
I was recently reflecting on how every baker eventually grows to have a recipe they know by heart. One that tastes great and even if the ratios are off, it is reliable and turns out nearly every time.
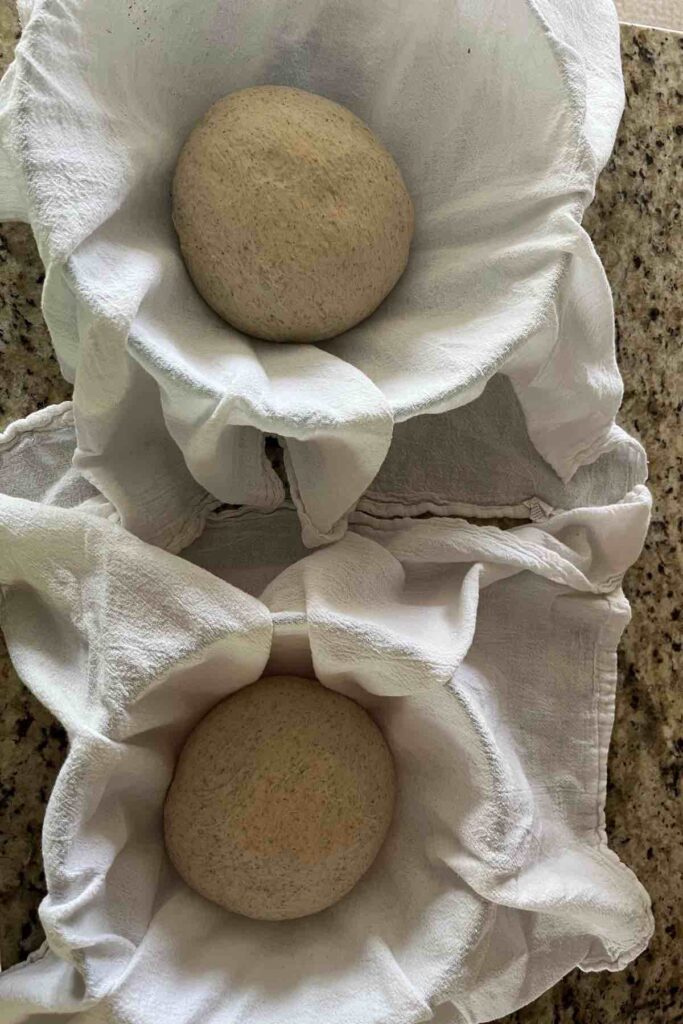
For me, I regularly bake two loaves of sourdough bread – aka the ‘Aldi Sourdough bread dupe‘. However, when I was making a loaf of bread recently, it looked beautiful on the outside but it the center was somehow completely raw.
No one wants raw sourdough bread! Some variables had stretched a little too far and I narrowed it down to two changes I did not change but the weather did. Cue changes in both heat and humidity.
Learn from my mistakes and allow me to introduce you to some tips and tricks to navigate baking sourdough in warm temperatures.
Together we will learn how to make the perfect loaf of sourdough bread every time.
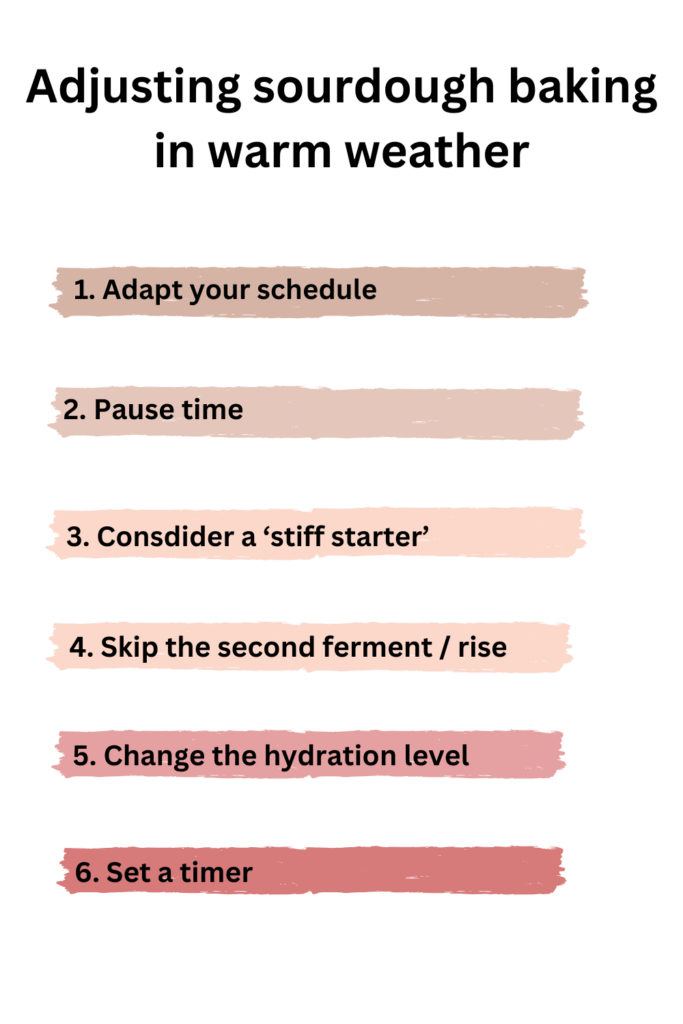
Adapt your schedule
My top tip for adjusting sourdough recipes during warm weather is to adapt your schedule. Consider shortening rise time and even placing your dough in the refrigerator to slow the speed of fermentation.
Both of these ensure loaves do not overproof or become ‘too sour’. If a sourdough recipe generally takes 10-12 hours to ferment, it might take 4-6 in the summer.
The reverse is also helpful, if you need to speed up time. If you forget to pull your dough out and it still needs a second rise before baking it, you can put it outside in the sun!
I have placed my sourdough English muffin bread outside in the sun to rise quickly. The heat causes the dough to rise faster, which can work in your favor.
Pause time
Consider the use of ‘cooling’ products to ‘pause’ time. By using the fridge or freezer, you can slow or pause time. This can help if you are unable to make a recipe right away and need to run to work, a baseball game, or across town unexpectedly.
Simply cover your baked good and place into the fridge until you are ready to bake. By using ways to slow time, sourdough has less of a chance of over proofing. This goes back to tip #1 – adjusting your schedule.
Our favorite methods to pause time include:
- Use a refrigerator to cool the dough (I.E. complete the bulk fermentation in the fridge)
- If you do not have a refrigerator, you can also surround the baked goods or sourdough starter with ice packs.
- You can also place your sourdough starter in another bowl filled with ice. It is the same premise as the fridge but a different ‘cooling’ method
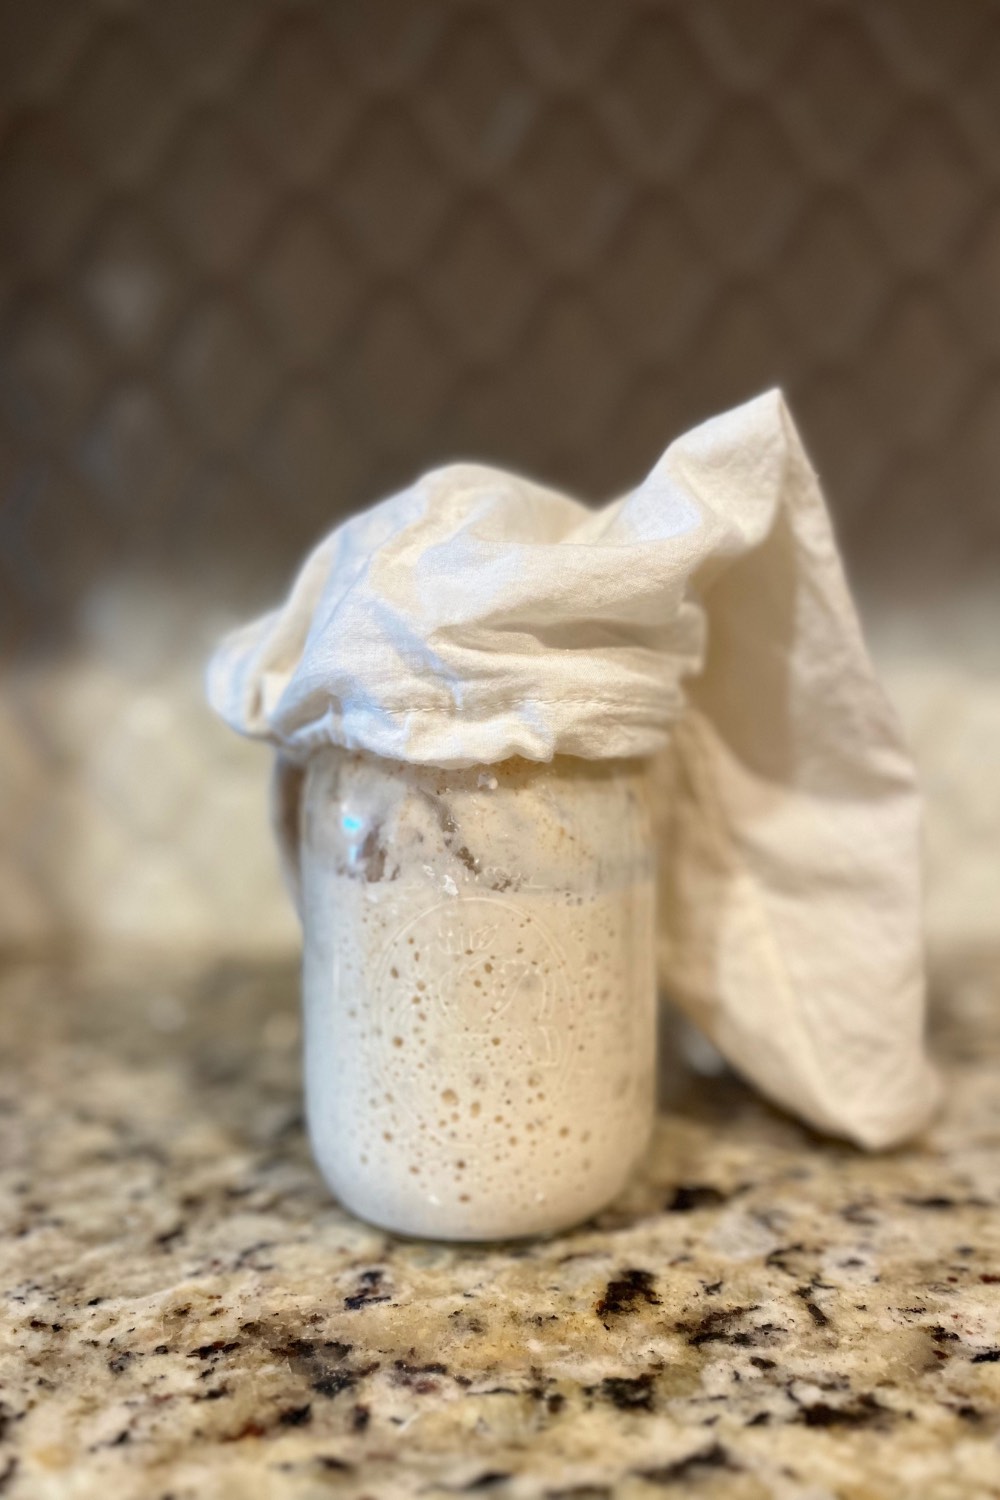
- Store your sourdough starter in fridge
- Placing sourdough starter in the fridge has lots of benefits. Not only does this reduce the chance of getting fruit flies in your sourdough starter (another summer nuisance), but it also slows fermentation so you do not have to feed your starter as often.
- Feed your starter with ice water
- If your sourdough starter is ‘hungry’ often, consider changing the temperature of your environment. A warm environment might not be able to be changed (IE reducing the temperature within a room), but you can change the temperature of the water used to feed your starter. Rather than using room temperature water, consider feeding your starter with ice water.
- We have lots of sourdough education tips if you are having trouble with understanding how to feed and maintain your sourdough starter. We are in this together!
- If your sourdough starter is ‘hungry’ often, consider changing the temperature of your environment. A warm environment might not be able to be changed (IE reducing the temperature within a room), but you can change the temperature of the water used to feed your starter. Rather than using room temperature water, consider feeding your starter with ice water.
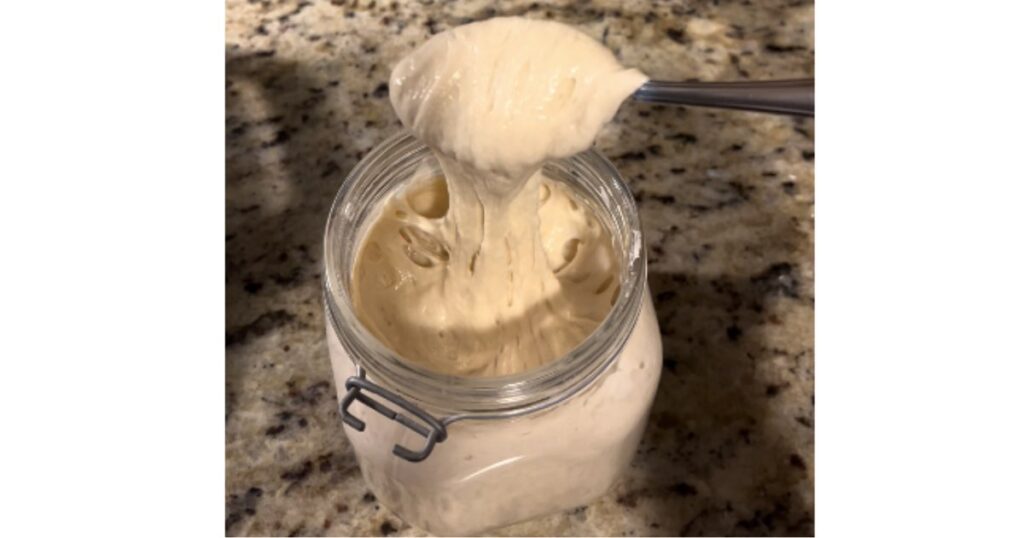
Consider a ‘stiff starter’
There are so many different types of sourdough starters (14 to be exact). Recently, we have been taking on making a stiff starter.
This not only helps to ensure we feed our sourdough starter less often, but it has made our baked goods happier as a result. We are essentially dry feeding our sourdough starter every few days. This not only makes the sourdough starter happy/stronger, but I rarely have to feed it. A win-win in our books!

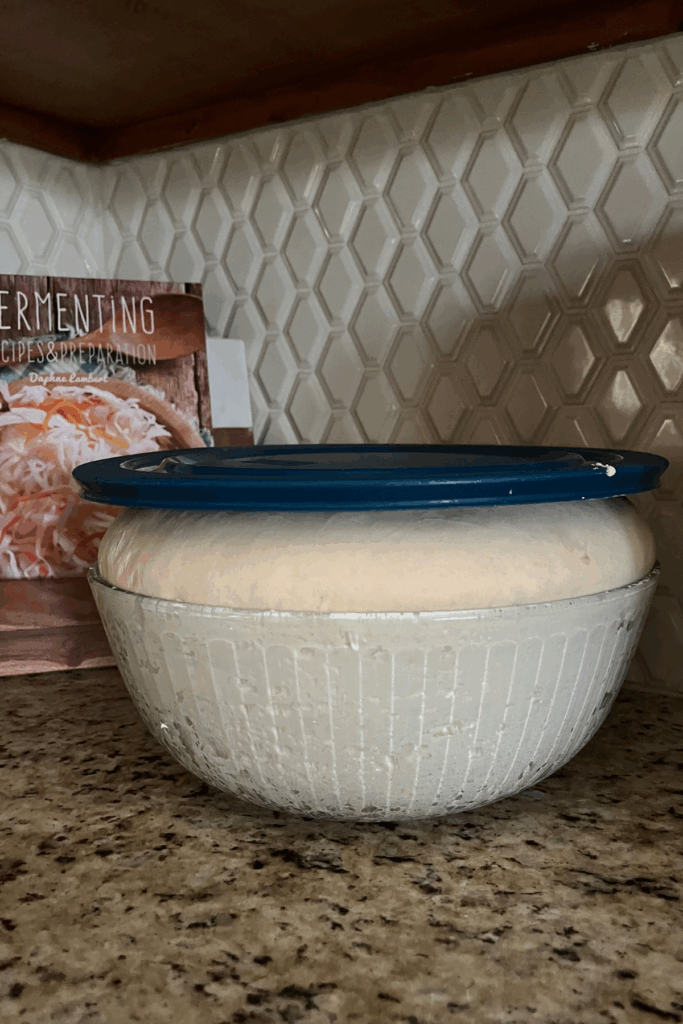
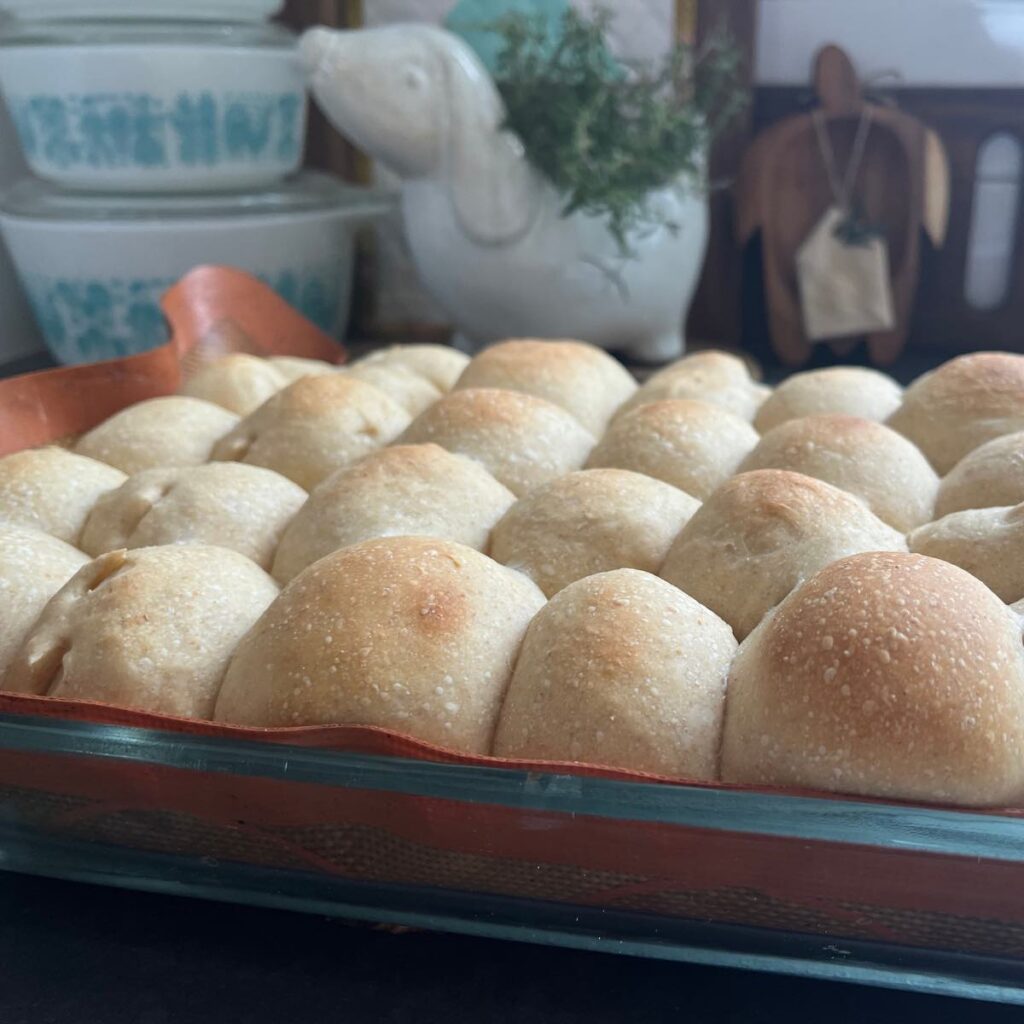
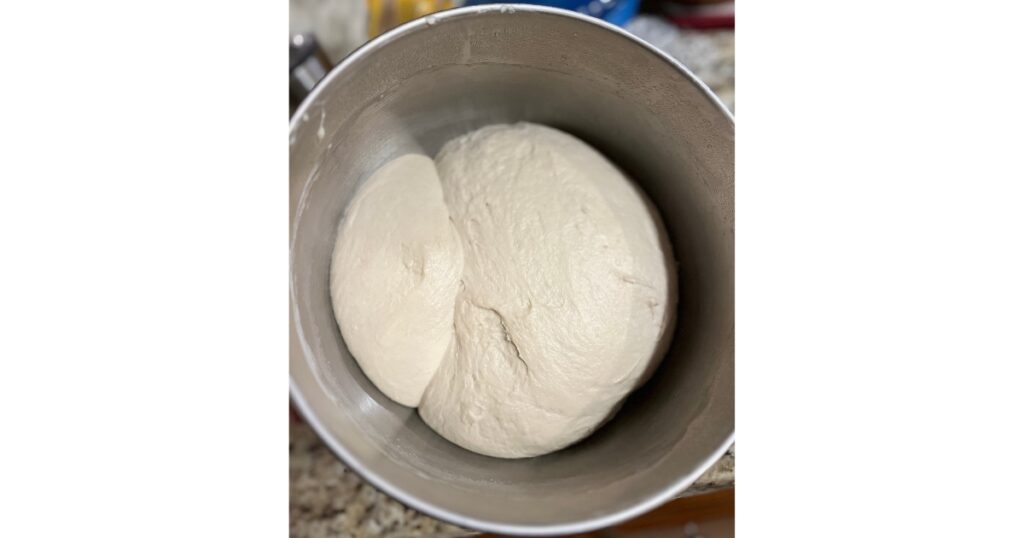
Skip the Second Ferment / Rise
Depending on the recipe, you might be able to skip the second ferment / second rise. While I do not outright skip mine all together, I do find rise time is adjusted and is much shorter during the summer.
For example, in the summer, my sourdough cinnamon rolls can be ready to bake within 30 minutes of shaping compared to 2 hours in the winter.
This is why sourdough schedules can vary based on time of year (Again, back to tip #1).

Change the Hydration Level
There are a couple of ways you can manipulate sourdough recipes to counteract warm weather. Without playing mad scientist / chemist, our favorite way is to adjust based on how a recipe dough ‘should’ look and feel like – then change from there. By changing water, starter or flour – you are altering the hydration ratio.
To be fair – sourdough bread and sourdough rolls are the only recipes we regularly test different hydration levels on. This is both due to the fact we bake bread weekly, temperature / humidity is less consistent in the summer than in the winter (where we live) and dough can sometimes seem sticky or dry based when mixing.
The external factor of humidity can play a part in how soft a bread is. Sometimes, bread becomes ‘too soft’ in the summer – which is not always a good thing.
As a rule of thumb, we have found in the winter our sourdough bread needs more water than in the summer. We are talking the difference of 3-5 ounces of water.
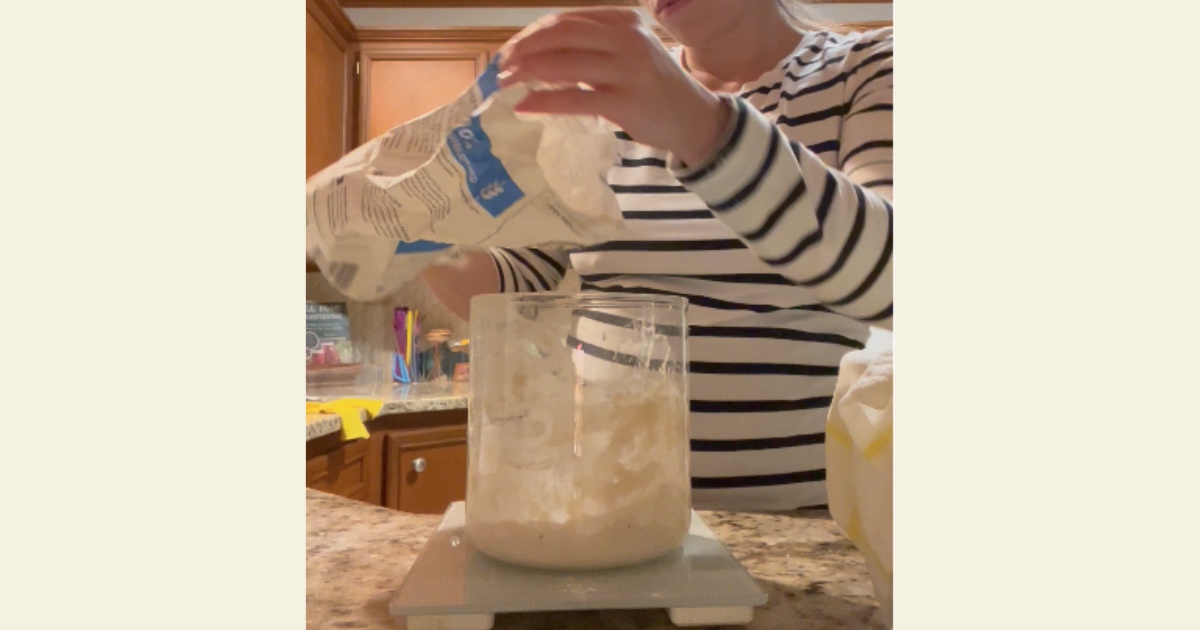
Adjusting water
Our first tip is to adjust water. At times, our sourdough starter can seem more stiff (when dry feeding) compared to when it is fed with a 1:1:1 ratio. Because of this, recipes may need more water. If a sourdough recipe feels too dry, we like to add water, a tablespoon at a time, to counteract.
Reduce amount of starter
Our second tip is to reduce the amount of starter. Readers have suggested reducing the amount of starter in a recipe. This influences both the water and flour ratio in a recipe. However, by using less sourdough starter, it will take longer for a loaf of bread to achieve the perfect proof.
Increase flour
Our third tip is to (cautiously) add more flour. Some readers have had luck adding up to 1/2 cup more flour to a recipe in warmer weather.
Set a timer
It can be hard to remember how long something has been sitting at room temperature for. Try setting a timer to remember when to check back in on the status of your sourdough. Even 30 minutes can make a difference between under proofed and over proofed sourdough bread.
What are your sourdough warm weather tips? Let us know in the comments below!